
uStepper 3D Stepstick Shield
Brand:uStepper
Most 3D Printer and CNC Machine users have experienced skipped steps in their linear motion control. The uStepper Stepstick shield aims to solve this problem with drop-in parts.
By adding a uStepper onto the stepper motors on your machine, and then replacing the standard stepstick driver on your controller with a uStepper Stepstick Shield, you have the building blocks for closed-loop control.
The final parts are to have a uStepper 3D Shield plugged into the uStepper, and then use a straight RJ-45 cable to connect the two. Finally, adjust your code following the video guide – and closed loop control is now yours!
To setup one axis with closed-loop control you will need:
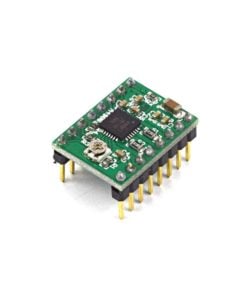
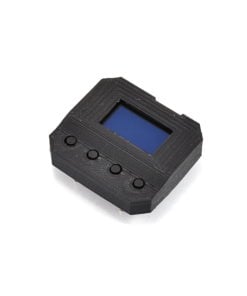
- 1 x uStepper Controller
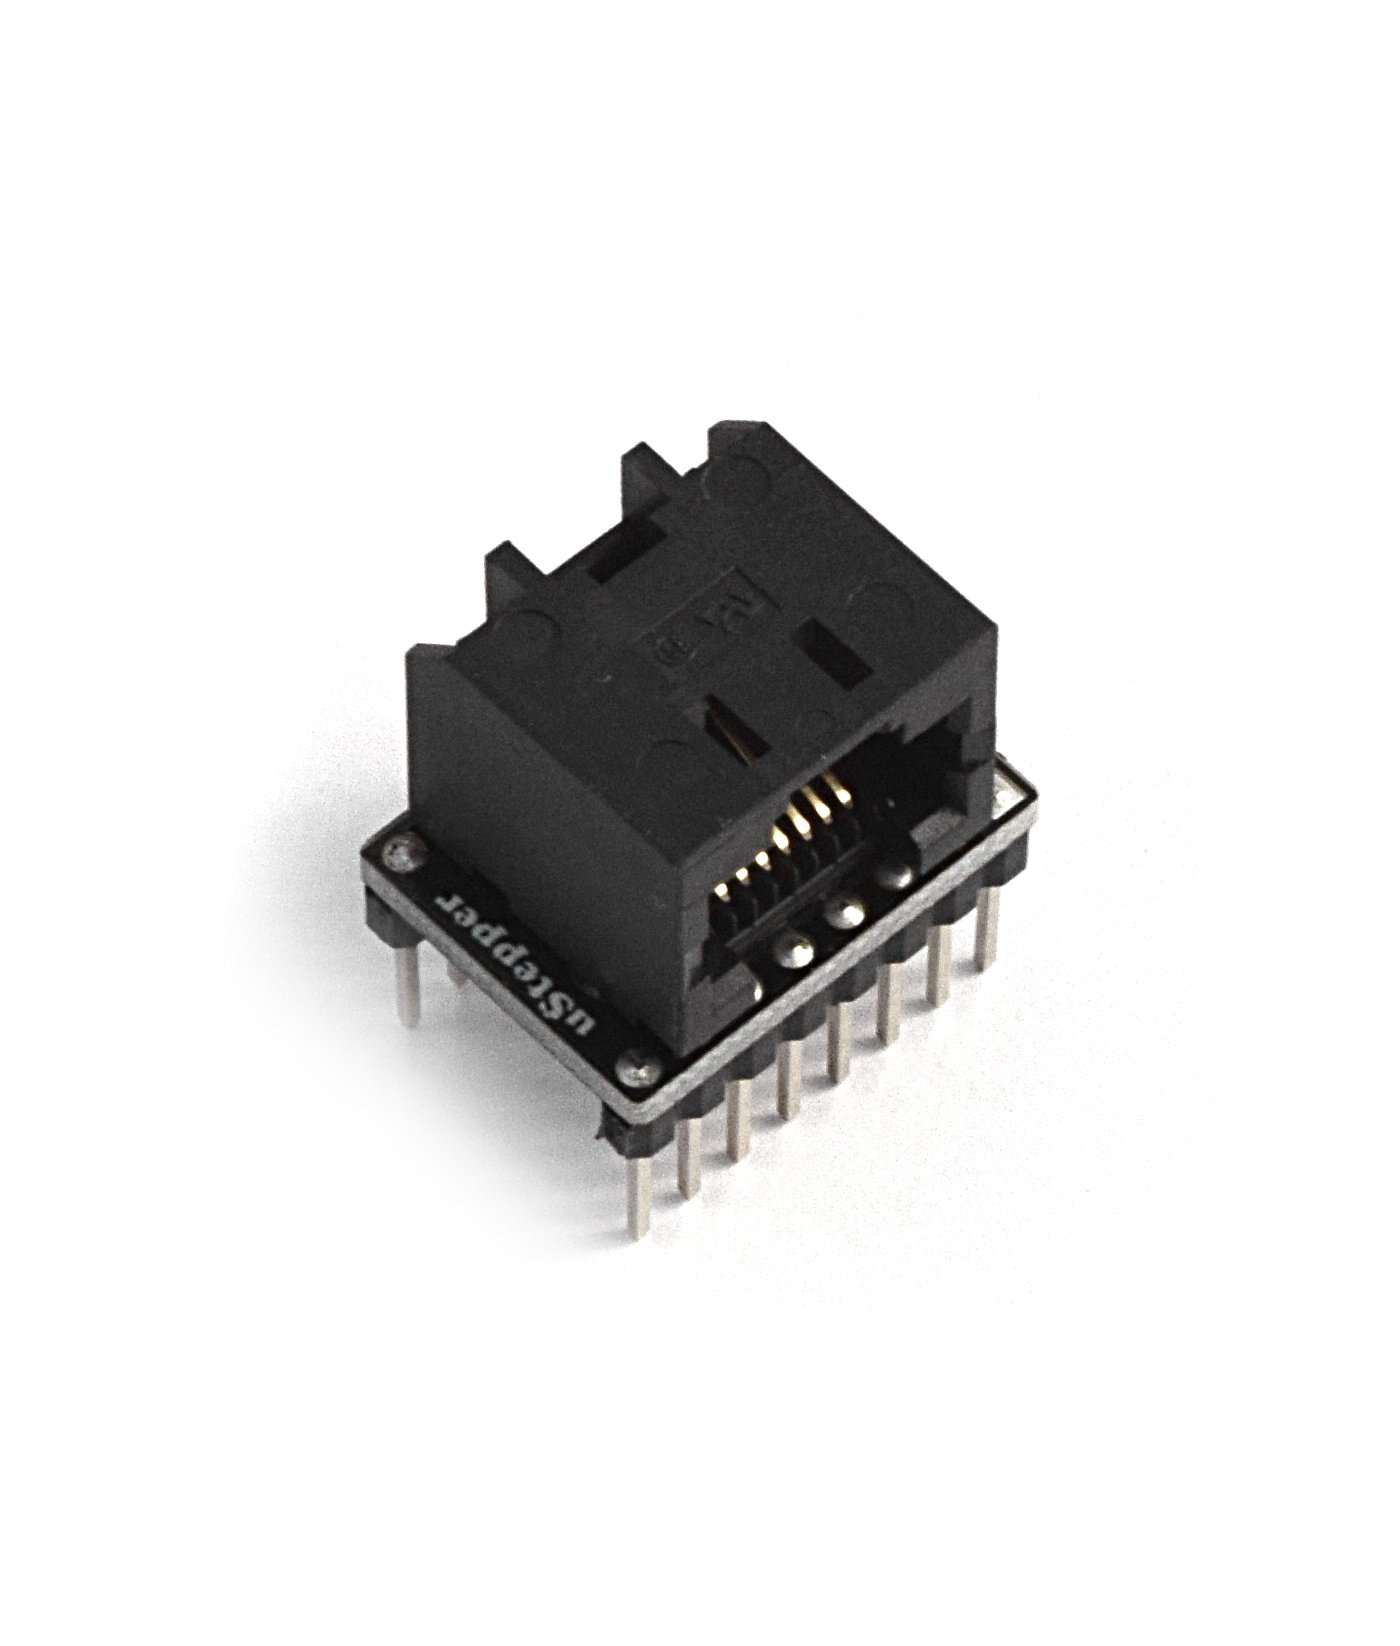
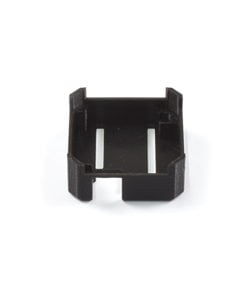
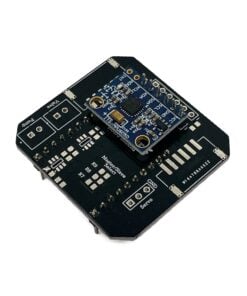
- 1 x uStepper Stepstick Shield (Either Left or Right)
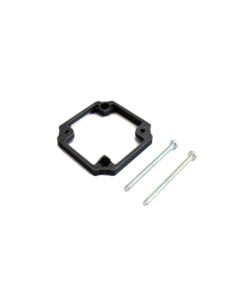
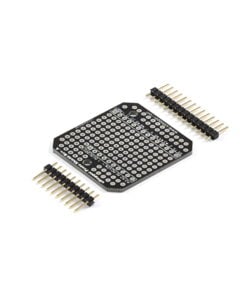
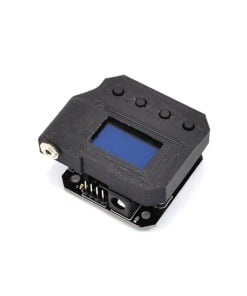
- 1 x uStepper 3D Shield
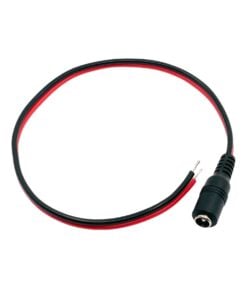
- 1 x RJ-45 Cable
The Stepstick Shield comes in left or right orientations, this is needed if you have two rows of drivers, you will need opposite orientations in each row so there is enough room for the RJ-45 cable connection.
What you will be getting
- Either a Stepstick Shield Left/Right or a 3D Shield depending on what is chosen above.
Documentation
All documentation for uStepper products can be found on their YouTube Channel: https://www.youtube.com/@uStepperDK
To assemble and use the uStepper 3D Stepstick Shields we recommend watching the following videos:
- uStepper Assembly Video
- uStepper Software Installation Video
- uStepper Closed Loop Control
- uStepper Closed Loop Control - Prusa i3
When mounting the uStepper Stepstick Shield insure you correctly orient it so the enable pin matches the enable pin on the controller.
Downloads
Only logged in customers who have purchased this product may leave a review.
Related products
£7.60 (Inc VAT)
This product has multiple variants. The options may be chosen on the product page
£6.50 (Inc VAT)
This product has multiple variants. The options may be chosen on the product page
Sale!
Out of stock
£12.00 (Inc VAT)
This product has multiple variants. The options may be chosen on the product page

Reviews
There are no reviews yet.