
Blog
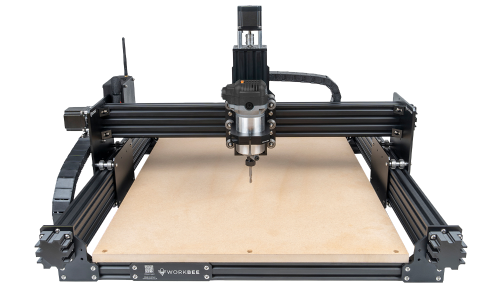
C-Beam Machine Build
With the recent release of the C-Beam machine mechanical kit on our website, we thought this would be a good chance to show the build of the machine we made for our workshop. All the 3D printed parts that we used on our machine are available via a download link at the end of this post.
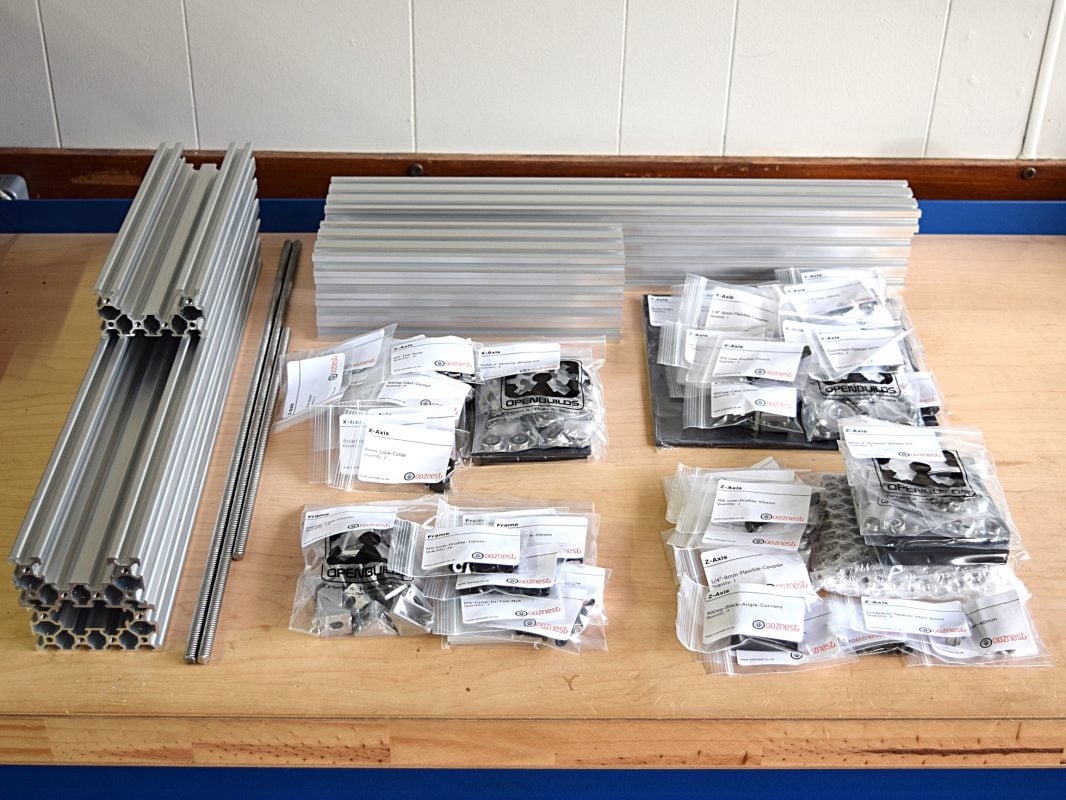
We picked all the parts out as if we bought one of our kits. Doing this at the start saves a lot of time going to the stock room and back, and labelling all the parts makes it a whole lot quicker.
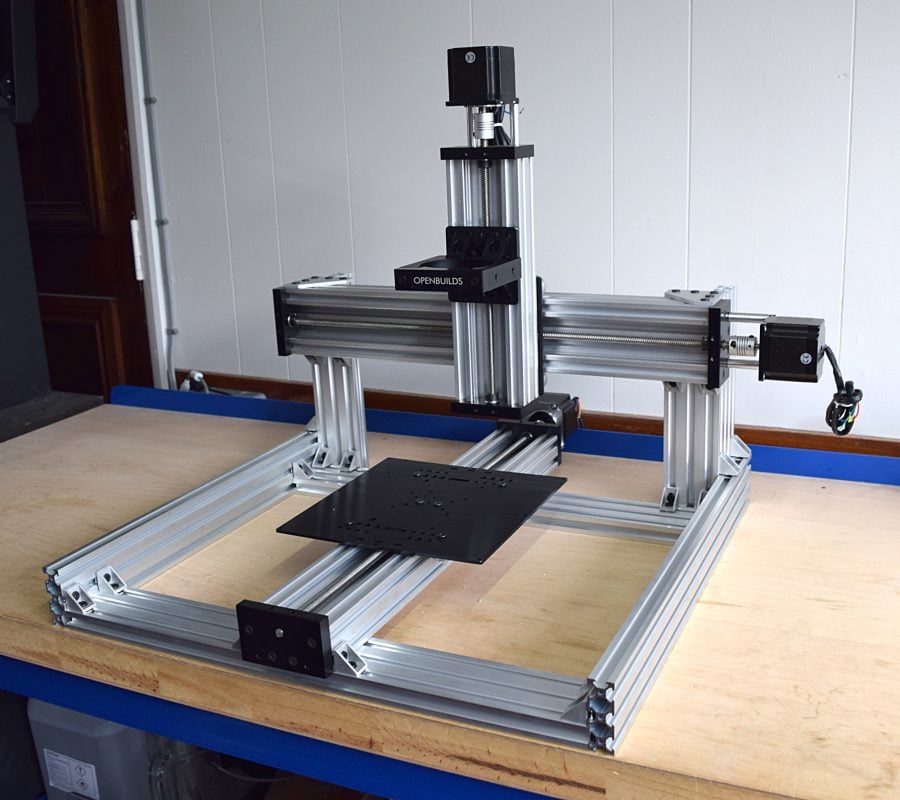
A couple of days later it’s built! In total it only took 4-6 hours, could probably be completed quicker if built in one continuous session.
Next task is the electronics, we decided to go with a standard setup, CNC xPro controller, 24V 15A Power supply, and a Dewalt 262000. We have been working on an electronics kit for the OX, so this turned out to be a good chance to test most of the mounts we designed for that. These are all 3D Printed in PLA, we have download link at the end for the STL files, note these may not be the final versions.

The CNC xPro controller attached to its mount with 2 x 24V 30mm fans to cool the controller. All the square holes on the mount are anchor points to use zip ties for cable management. The fan leads connect to a terminal block which is mounted on that back, this will then connect directly to the power supply.

We designed a 3D printer power supply cover. This cover incorporates an IEC Inlet, XT60’s for the outputs, and LED Volt meter. We are really happy with how the cover came out, it tidies up the LED power supplies, and makes them a lot safer. The IEC Inlet has an inbuilt switch, which is very convenient if the plug socket is awkward to reach.


Finally it was just a matter of attaching the xPro Mount, Dewalt and Power supply to the machine, and connecting the wires. We found it was difficult to route the wires without points to secure them to the v-slot. So we designed some clips that can be screwed to the v-slot, and the wires can then be zip tied around the clips.

The final task is the spoiler board. On our OX CNC Machine we found that using 5 Hole T Joining plates as clamps work great, we would like to use the same setup on the C-Beam Machine. Using Cut2D designed a pattern of holes and insets for M5 wood insert tee-nuts. Then passed the toolpaths over to our OX CNC Machine for cutting.


Just hammer the tee nuts in, re-mount the spoiler, and it is complete. There is a good bit of material between the top of the threads and the top of the MDF, so shouldn’t have to worry about hitting them.

One last addition is a clamp for the vacuum hose, a must have for a dust free workshop!

Our C-Beam machine is ready for its first cut. Here we have a piece of 12mm birch plywood clamped ready for the open hardware logo to be cut into it.


The first cut on the machine went really well, the machine breezed through the material. We are extremely happy how the machine came out and we are looking forward to pushing the machine with some aluminium in the future.
Hopefully this blog post has been of some help to anyone interested in the machine, or has one, and is looking for some pointers on how to set it up. The Download link below contains all the files for all the 3D Printed parts we used on our machine
Do you supply full kits?
Hi Nick,
Sorry we don’t for this machine.
Hi
Is there a parts list so you can build without having to buy the kit all at once please
Rgds
Allan
Hi,
If you check out this link here it should tell you everything you need: https://openbuilds.com/builds/c-beam%C2%AE-machine-plate-maker.2020/
Best Regards
Ryan Lock